1. Talk with Gary the Gadget Guy about the earthquakes.
He tells you the most recent tremor started at the Dock.
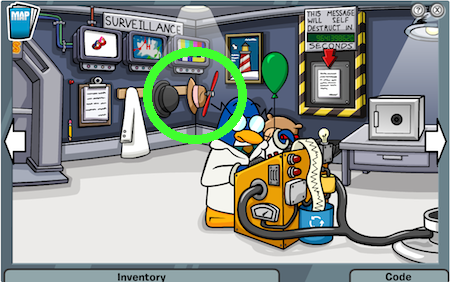
2. Before you leave, grab the propeller hat on the coatrack to the left of G and put it in your inventory.
3. Use your spy phone to teleport to the Dock.
Herbert P. Bear and Klutzy the Crab pop up out of the snow, in a huge drill.
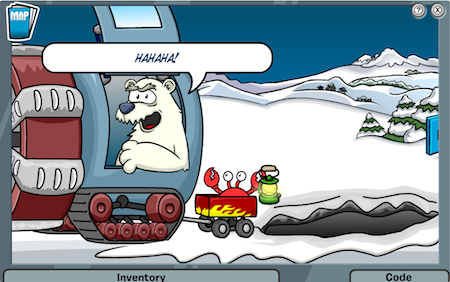
4. Talk to Herbert.
Herbert talks about a map, which Klutzy snips in half. The two map pieces blow away.
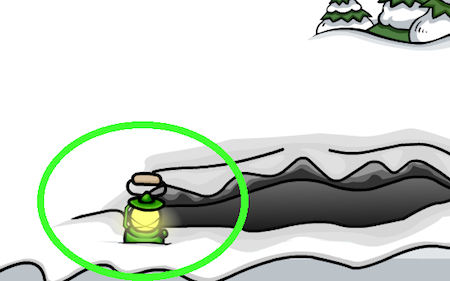
5. Pick up the green lantern Klutzy left, and put it in your inventory.
6. Make your way to the Town.
You see the two map pieces float by.
7. Talk to the worried-looking pink penguin.
8. Go in the Coffee Shop next, and talk with the barista.

9. Offer to help clean up, and click one of the cookies on the floor to pick them up.
10. Put the cookies in the green cookie jar.
11. Take the cookie the barista offers you, and put it in your inventory.
12. Go back outside.
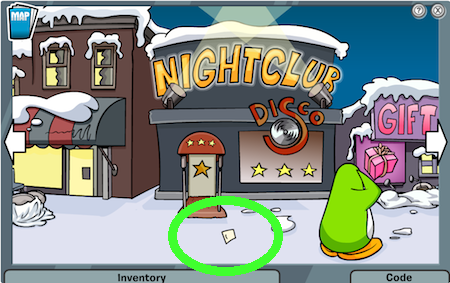
Note that part of the map Klutzy snipped in half is stuck in the Nightclub sign.
13. From your inventory, give the green puffle the propeller hat.
He puts it on.
14. Now give the green puffle the cookie.
He eats the cookie. As he soars off, the map piece in the sign floats to the ground.
15. Pick up the map piece, and put it in your inventory.
Earlier, the other map piece floated toward the Snow Forts.
16. Go to the Snow Forts.
You see the map piece float by and get stuck in a flag pole.

17. Click the piece.
It sails off toward the Plaza.
18. Head to the Plaza.
You see the map piece sail into a penguin’s newspaper.
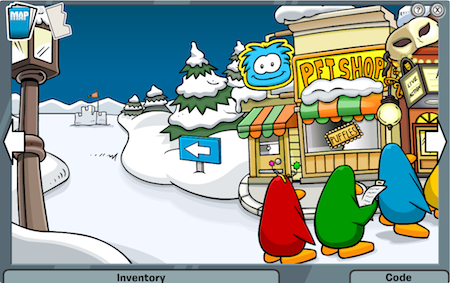
19. Talk to the green penguin queued for The Stage.
He won’t give you his newspaper but says he’s like a double-meat pizza, extra grey fish. (Blech!)
20. Go in the Pizza Parlor, and ask the waiter for a double-meat pizza with extra grey fish please!

21. Put the pizza box he hands you in your inventory.
22. Go back outside, and from your inventory, give the pizza box to the green penguin.
23. Ask the penguin for the newspaper.
24. Put the newspaper in your inventory.
25. Click the newspaper in your inventory, and you get the other half of the map.
26. Put one piece of the map on top of the other map piece in your inventory.
If you want, you can click the completed map to see the tunnel directions.
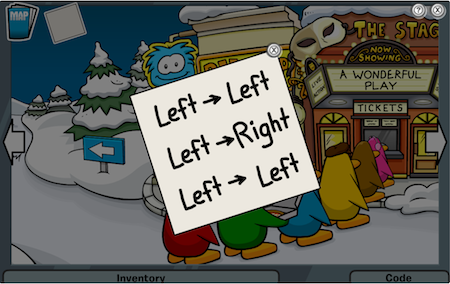
27. Teleport back to HQ, and go in the Gadget Room.
28. Report back to Gary.
The conversation seems a bit confusing, because G talks about searching for the map, but you have it with you.
29. Grab the hammer on the wall to the right of G, and put it in your inventory.
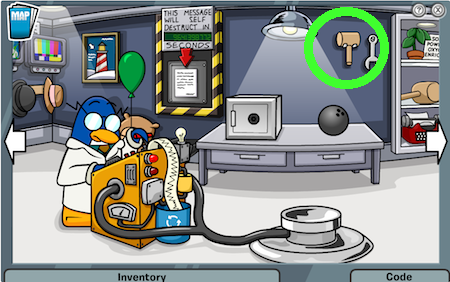
30. Look around the Gadget Room, and click the purple air tank.
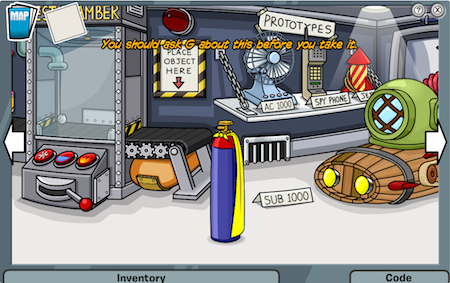
31. Ask Gary about Super Helium, and ask him if you can take it.
32. Put the tank in your inventory.
33. Teleport to the Lighthouse.
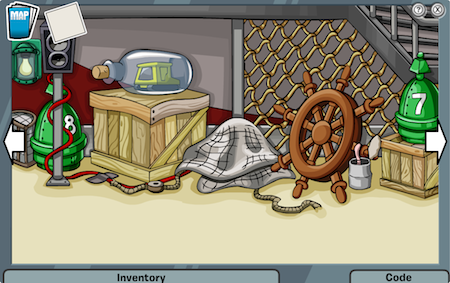
34. Take the net, and put it in our inventory.
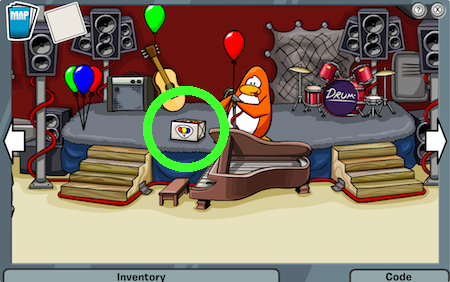
35. Talk to the orange penguin on the stage, and ask him if you can take some balloons.
36. Put the box of balloons in your inventory.
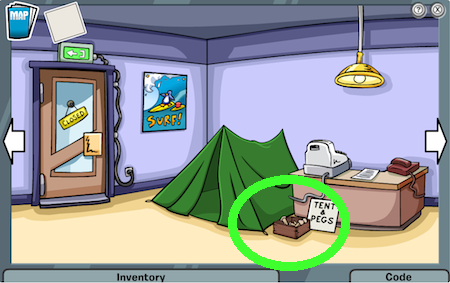
37. Teleport to the Sport Shop.
38. Put the box of tent pegs in your inventory.
39. Teleport to the Town.
40. From your inventory, take a balloon from the balloon box and put it on the super helium tank.
41. Click the inflated balloon on the Gift Shop to attach it.
The Gift Shop floats up a bit.
42. Quickly, take the net from your inventory, and put it under the floating Gift Shop, a bit beneath the door.

43. Take the tent pegs, and put them on the net, again right underneath the door.
44. Take the hammer, and tap the pegs into place.
If it works, the net supports the Gift Shop.
This can be tricky, trying to figure out where to place all the items. If you mess up and the Gift Shop sinks before you are done, go back to the Lighthouse, grab another net, and try again.
45. Now, teleport to the Dock, and look around for the hole Herbert and his drill popped out of.
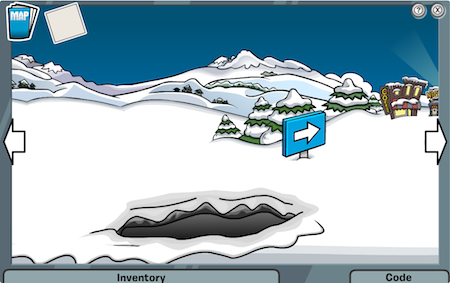
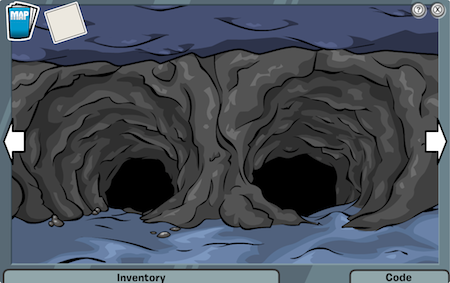
46. Enter the hole, and look around for two tunnels.
47. Click the map either in the top-left part of your screen or in your inventory to see which tunnel to take.
48. Enter the first tunnel, following the directions on the map.
The directions are different each time you do the mission.
The tunnel is dark.
49. Click the lantern in your inventory to turn it on and light your way.
If you are a member, you can turn on your night-vision goggles instead.
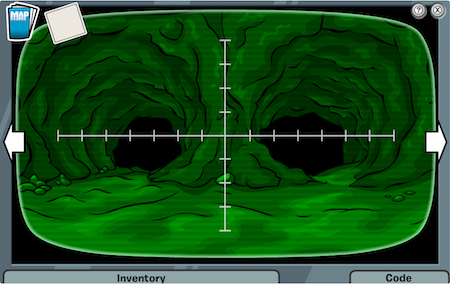
50. Continue to follow the directions on the map.
If you correctly followed the map’s directions, you come to a spot right beneath the Gift Shop. Ahead, you see another tunnel.
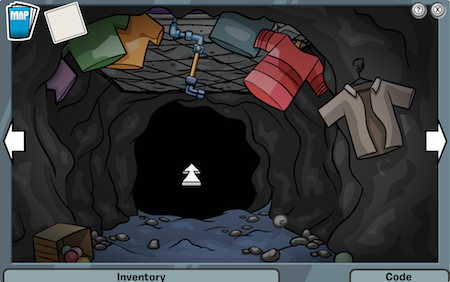
If you took a wrong turn, you end up back at the beginning, so start again.
51. Enter the tunnel.
You see Herbert’s drill.
52. Take your spy phone from your inventory, and click the flashing-red light at the top of the phone.
53. Click the wrench that pops out, and use the wrench on the gear in the drill.
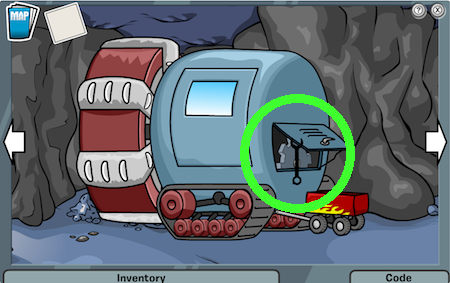
54. Put the gear in your inventory.
55. Enter the opening to the Boiler Room.
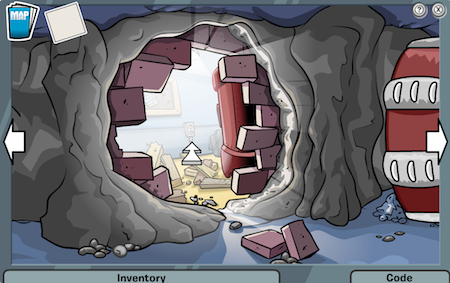
You see Herbert doing something to the boiler.
56. Click Herbert.
He talks with Klutzy.
57. Talk with Herbert.
He whacks the boiler with a wrench, and it starts to overheat.
58. Answer your spy phone.
59. Talk with Gary.
He tells you to fix the boiler.
60. Click the boiler to start repairing it.
You need to reconnect the pipes, hooking up pipes from the top-left to the bottom-right pipe.
61. To move a pipe, first click the pipe you want to move and then click the square you want to move the pipe too.
You can create any path you want with the pipes, as long as you eventually connect the top-left pipe to the bottom-right pipe.

62. Answer your spy phone again.
It’s Gary, asking you to report back to HQ.
63. Teleport back to HQ, and talk with Gary.
Keep talking with Gary until you can tell him you recovered the clock tower’s prime gear.

64. Hand Gary the gear.
65. Be sure to collect your medal and gift.
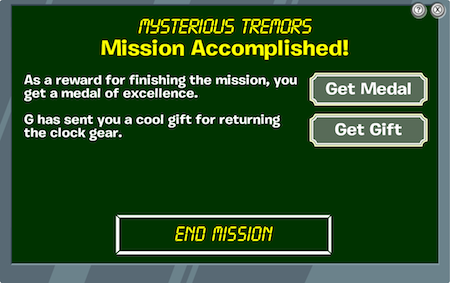
You’re done!




No comments:
Post a Comment