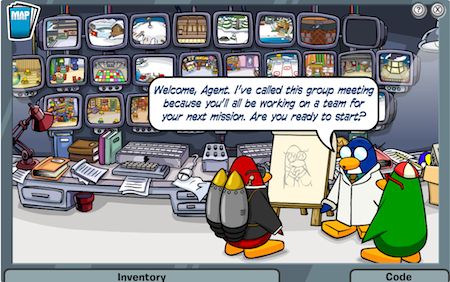
1. Talk with Gary the Gadget Guy.
Your mission is to work with Jet Pack Guy and Rookie—both of whom you met in earlier missions.
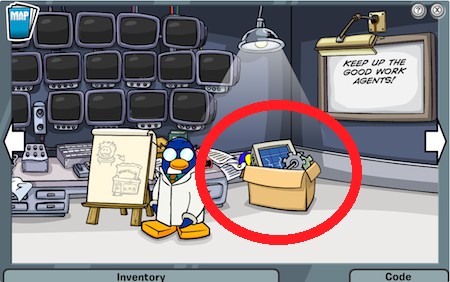
2. From the box of odds and ends to the right of Gary, take the solar panel and put it in your inventory.
3. Using your spy phone, teleport to the Beach.
4. Look around, and talk to Jet Pack Guy, who is not wearing his jet pack.
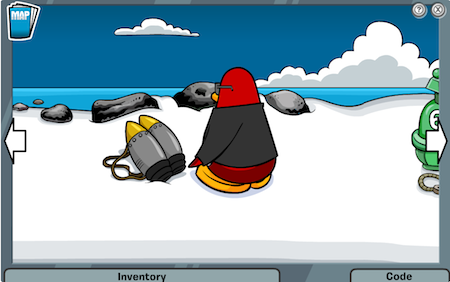
He tells you his jet pack has broken down and is out of fuel.
5. Go in the Lighthouse, and look around.
6. Grab the barrel, and put it in your inventory.

7. Return to the Beach, talk to Jet Pack Guy again, and tell him you found cream soda.
He tells you to divide the cream soda into two containers, each containing four units of cream soda.
8. From your inventory, give the barrel of cream soda to Jet Pack Guy.
You see three beakers, with little labels next to them marked 8, 5, and 3.
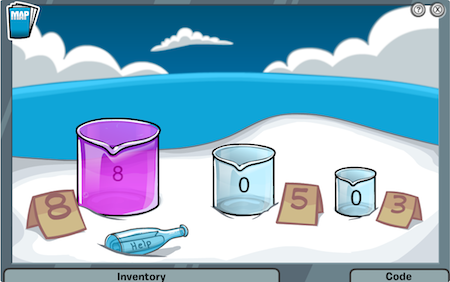
- Pour liquid from the left beaker into the middle beaker.
- Pour liquid from the middle beaker into the right beaker.
- Pour liquid from the right beaker into the left beaker.
- Pour liquid from the middle beaker into the right beaker.
- Pour liquid from the left beaker into the middle beaker.
- Pour liquid from the middle beaker into the right beaker.
- Pour liquid from the right beaker into the left beaker.
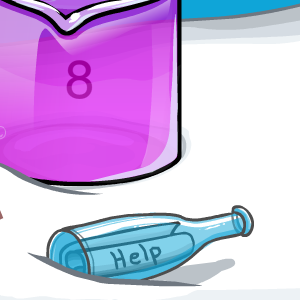
If you get confused, click the bottle with the Help note rolled up inside to see directions for getting four units of cream soda into two containers.
Jet Pack Guy soars off.
9. Teleport to the Dock.
10. Talk to the green penguin near the boat with the rope.
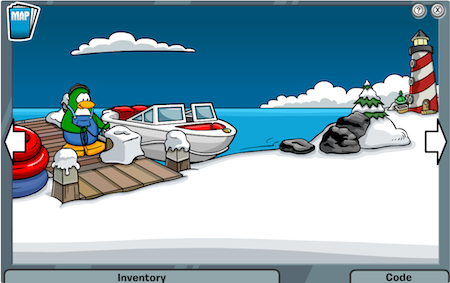
11. Ask if he has any rope.
Surprisingly, he just gives you the rope.
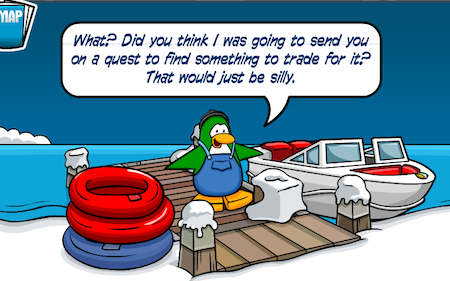
12. Put the rope in your inventory.
13. Teleport to the Gift Shop, and talk to the shopkeeper.
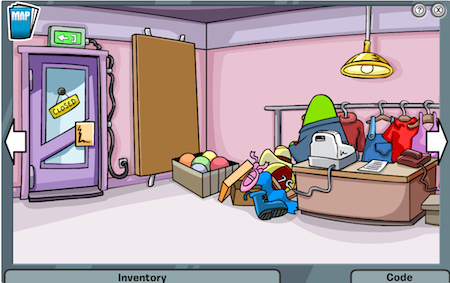
14. Tell him you’d be happy to help him, and then put the two boxes and table beside him in your inventory.

15. Go outside to the Town, take the table from your inventory and set it up to the right of the store.
16. From your inventory, take the two boxes and put them on the table.
17. Go back in the Gift Shop, and talk to Rookie.
The Magnet 3000 is causing him problems.
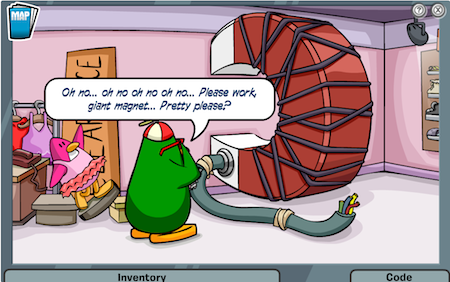
18. From your inventory, take the solar panel and put it on the magnet’s power cord.
You see a circuit board.
19. Use the blue soldering iron to complete a path between each of the three pairs of colored circles. If you mess up, use the red solder sucker to erase mistakes.
Your finished circuit board should look something like this:

20. Teleport to the Night Club.
21. Take the rope from your inventory, and put it on the pulley.

The rope is attached to the cage and winch.
22. Click the red lever.

The winch shoots off sparks.
23. Take your spy phone from your inventory, and click the flashing-red light at the top of the phone.
24. Click the wrench that pops out, and use the wrench on the bolts on the front on the winch.
25. Click the front of the winch.
You see five gears on the bottom of the box.
26. Fit the gears on the spindles to fix the winch and set the trap:
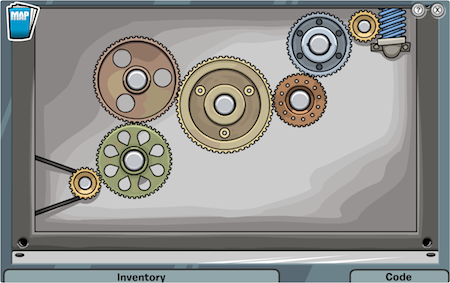
The gears may fit together differently each time you do the mission.
27. Teleport to the Dock.
Your spy phone rings.
28. Answer it.
Oddly, it’s Jet Pack Guy, telling you to head to the Dock, although you are already there.

29. Look around till you spot Klutzy waving a decoy Herbert.
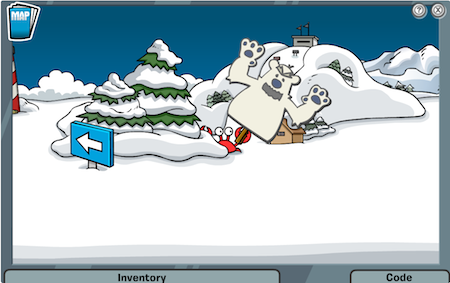
30. Your spy phone rings again.
It’s Rookie, reporting Herbert is at the Night Club.
31. Return to the Night Club.
You see Herbert with the golden puffle.
32. Flip the red handle on the winch to trap Herbert.
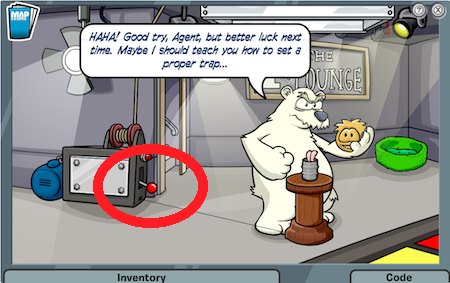
Herbert easily lifts the cage and casts it aside.
33. Click Herbert.
Your spy phone rings.
34. Answer your spy phone.
It’s Gary, telling all agents to move in. The Magnet 3000 breaks through the wall, attracted by the golden puffle.
35. Click and hold the three night-club spotlights to point them at the solar panel.
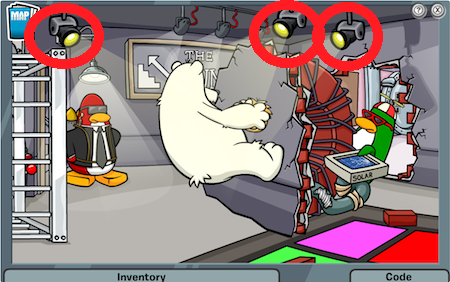
The magnet now attracts the cage, again trapping Herbert. After some hullabaloo, the mission ends.

36. Be sure to collect your medal and gift.
You’re done!


No comments:
Post a Comment